
Parasite Eve 2 Hd Texture Pack -
Move on! To get with it!
Have a successful event! Be professional and efficient!
For corporate event organizers For professional event organizers EventManager®
For corporate event organizers For professional event organizers EventManager®
Huge event with large number of participants? Or international event? The SmartEvents® will be the reliable superhero for your participants and vendors. And of course for you.
Open to new technologies, impress the participants with incredible features and customizable applications!
Our team gives you full support. Enjoy all the simplicity and comfort of the application!
By downloading, you agree to the content of the mobile app privacy statement.
Download App
from AppStore
Download App
from PlayStore
Make an
appointment!
Event agenda, session details, tracks, speakers
List of speakers, speaker photos, company and position info, sessions
List of attendees, attendee details, contact, company, position

Documents, media bulletin, publications, presentations
Sponsor categories, sponsor details, website info, logos
Continuously highlight sponsors throughout the event
Engage the audience with live polls. Collect answers and display the results live on your projector.
Attendees can rate everything. Feedback on your event and sessions.
Live during programs

Play with words & thoughts.
Attendees search for QR codes that have been placed around the venue, building, or stands.
Offer attendees the ability to test their knowledge about various issues related to your event. You can create multiple quizzes and provide the questions and answers.
Comments about the event, shared by attendees
Community board. Comments, pictures, news about the event, shared over the press or social media
Get connect! Attendees can schedule meetings with each other

Instant push notifications about last minue program changes, sponsors even with pictures.
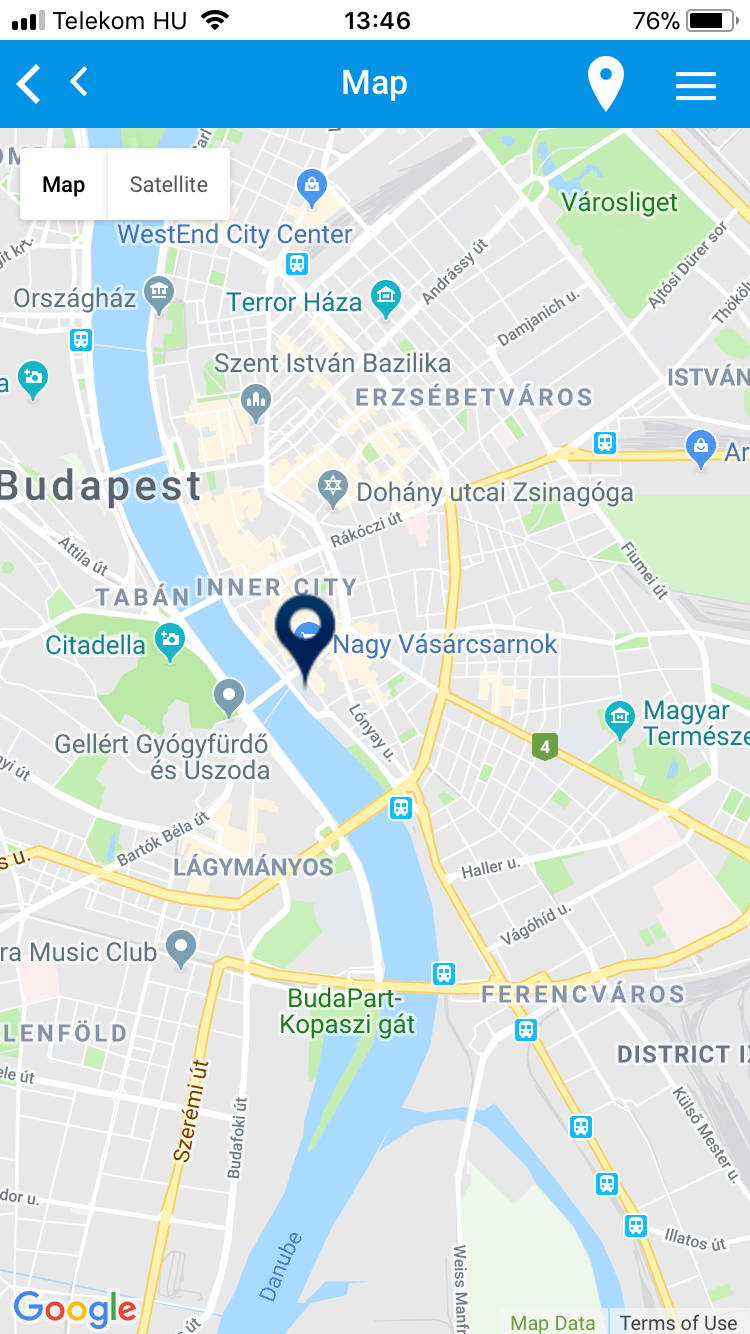
Locations, hotels, interesting sites. Never get lost!
Creating personal agenda
Experiencing this game with an HD texture pack eliminates the visual fatigue associated with early 3D gaming. The cinematic camera angles, eerie body-horror transformations, and moody environments feel less like a relic of 1999 and more like a modern indie homage to retro horror.
This isn’t just a simple “sharpen and pray” AI upscale. The team went through the game frame-by-frame. Here is what you get:
In short: No.
The Parasite Eve 2 HD Texture Pack bridges the gap between classic survival horror atmosphere and modern display standards. It allows fans to revisit M.I.S.A. and the Mojave Desert without straining their eyes, and gives newcomers the perfect visual entry point into one of Square's most unique cinematic experiments.
If you have acquired a Parasite Eve 2 HD texture pack (typically a .zip or .rar archive containing folders named after the game's ID), follow these steps to install it in DuckStation: parasite eve 2 hd texture pack
Before diving into the mod itself, it's essential to understand what makes Parasite Eve 2 such a unique technical challenge for modders. The game, like many of its contemporaries, relied on a hybrid graphics system. Characters, enemies, and certain interactive objects were rendered as real-time 3D models, but the evocative, moody environments—the dusty hotel of Dryfield, the sterile laboratories, the claustrophobic Mojave Desert facility—were pre-rendered 2D backgrounds. This technique saved processing power but locked the game's visual fidelity to the resolution of these static images.
For fans of survival horror, classic RPGs, or just great, weird games, tracking down and installing one of these HD packs is well worth the effort. The installation process might require a few minutes of tinkering with emulator settings, but the reward is the definitive way to play a classic. It's almost like opening a familiar album of childhood memories, only with newly vivid photographs.
Copy the texture pack folder (the one named with the game's serial number, such as SLUS-01042 ) directly into the textures folder you located in Step 2.
Add to this the complexity of transparency and alpha channels—critical for effects like glass, fire, and particle effects—and you have a recipe for a modding project that requires immense patience, technical know-how, and a strong dose of artistry. Experiencing this game with an HD texture pack
Navigate to the or Advanced tab (depending on your DuckStation version layout). Check the box next to Load Custom Textures .
: A popular 4K UHD replacement pack that significantly sharpens background textures. It is often paired with
emulator) is an essential upgrade for fans looking to revisit Aya Brea’s 1999 survival horror outing. By utilizing AI-upscaling techniques like ESRGAN, these packs bridge the gap between the PlayStation 1’s 240p limitations and modern 4K displays. The Verdict: A Stunning Restoration Visual Clarity:
Other community projects go a step further. Enthusiasts have bundled these upscaled textures with pre-configured emulators and even high-quality fan translations into convenient, all-in-one packages. These "one-click" builds take the guesswork out of the process by including a version of DuckStation that is already set up to use the HD textures, along with the game's disc images, requiring little more than extraction and launch. The team went through the game frame-by-frame
The most popular community texture packs leverage Deep Learning (ESRGAN) to rebuild the game from the ground up.
Copy the extracted game serial folder (e.g., SLUS-01042 ) and paste it directly inside the textures folder. (Note: If the pack includes separate folders for Disc 1 and Disc 2, place both serial-coded folders into the textures directory). Step 4: Enable Custom Textures in DuckStation Launch . Go to Settings > Graphics .
The most seamless way to experience Parasite Eve II in high definition is through the popular PlayStation 1 emulator, DuckStation. DuckStation features a native, highly optimized texture replacement engine that handles custom assets flawlessly without degrading performance. Step 1: Prerequisites
If you cannot find a complete pack, or if you want to fix specific blurry elements yourself, you can create your own textures using AI tools.
Enable PGXP Geometry Correction . This fixes the classic PS1 "polygon wobble" and screen tearing, making the 3D elements sit perfectly still on the high-def 2D backgrounds. Gameplay Impressions: The Verdict


We will handle your information in accordance with our Privacy Policy.
You may withdraw your consent at any time by contacting us.
I expressly consent to the direct sale of my information in this form. My consent is valid until revoked.